The Case for DIY Security Lighting
Peace of mind for your family doesn't have to mean expensive electrical work. Well-lit homes feel more welcoming, help you see who's at the door, and make evening arrivals safer for everyone.
Traditional security lighting often required an electrician for wiring and compliance. Call-out fees vary and can increase for after-hours work, which discourages many homeowners from upgrading.
Solar security lights change that equation entirely. They're self-contained units with integrated solar panels and batteries. If you can use a drill and screwdriver, you can install professional-grade security lighting in an afternoon.
Benefits of DIY Solar Security
Save on Installation
Solar lights install with basic tools. Electrician call-out fees vary, and after-hours visits can be significantly higher.
Install Quickly
Solar security lights can be installed without trenching, conduit, or electrical permits. Installation time varies by mounting surface.
Zero Running Costs
Solar panels charge during the day, batteries power lights at night. No impact on your electricity bill, ever.
Visible Deterrent
Well-lit properties are less attractive to opportunistic burglars. Motion-activated lights draw attention to movement around your home.
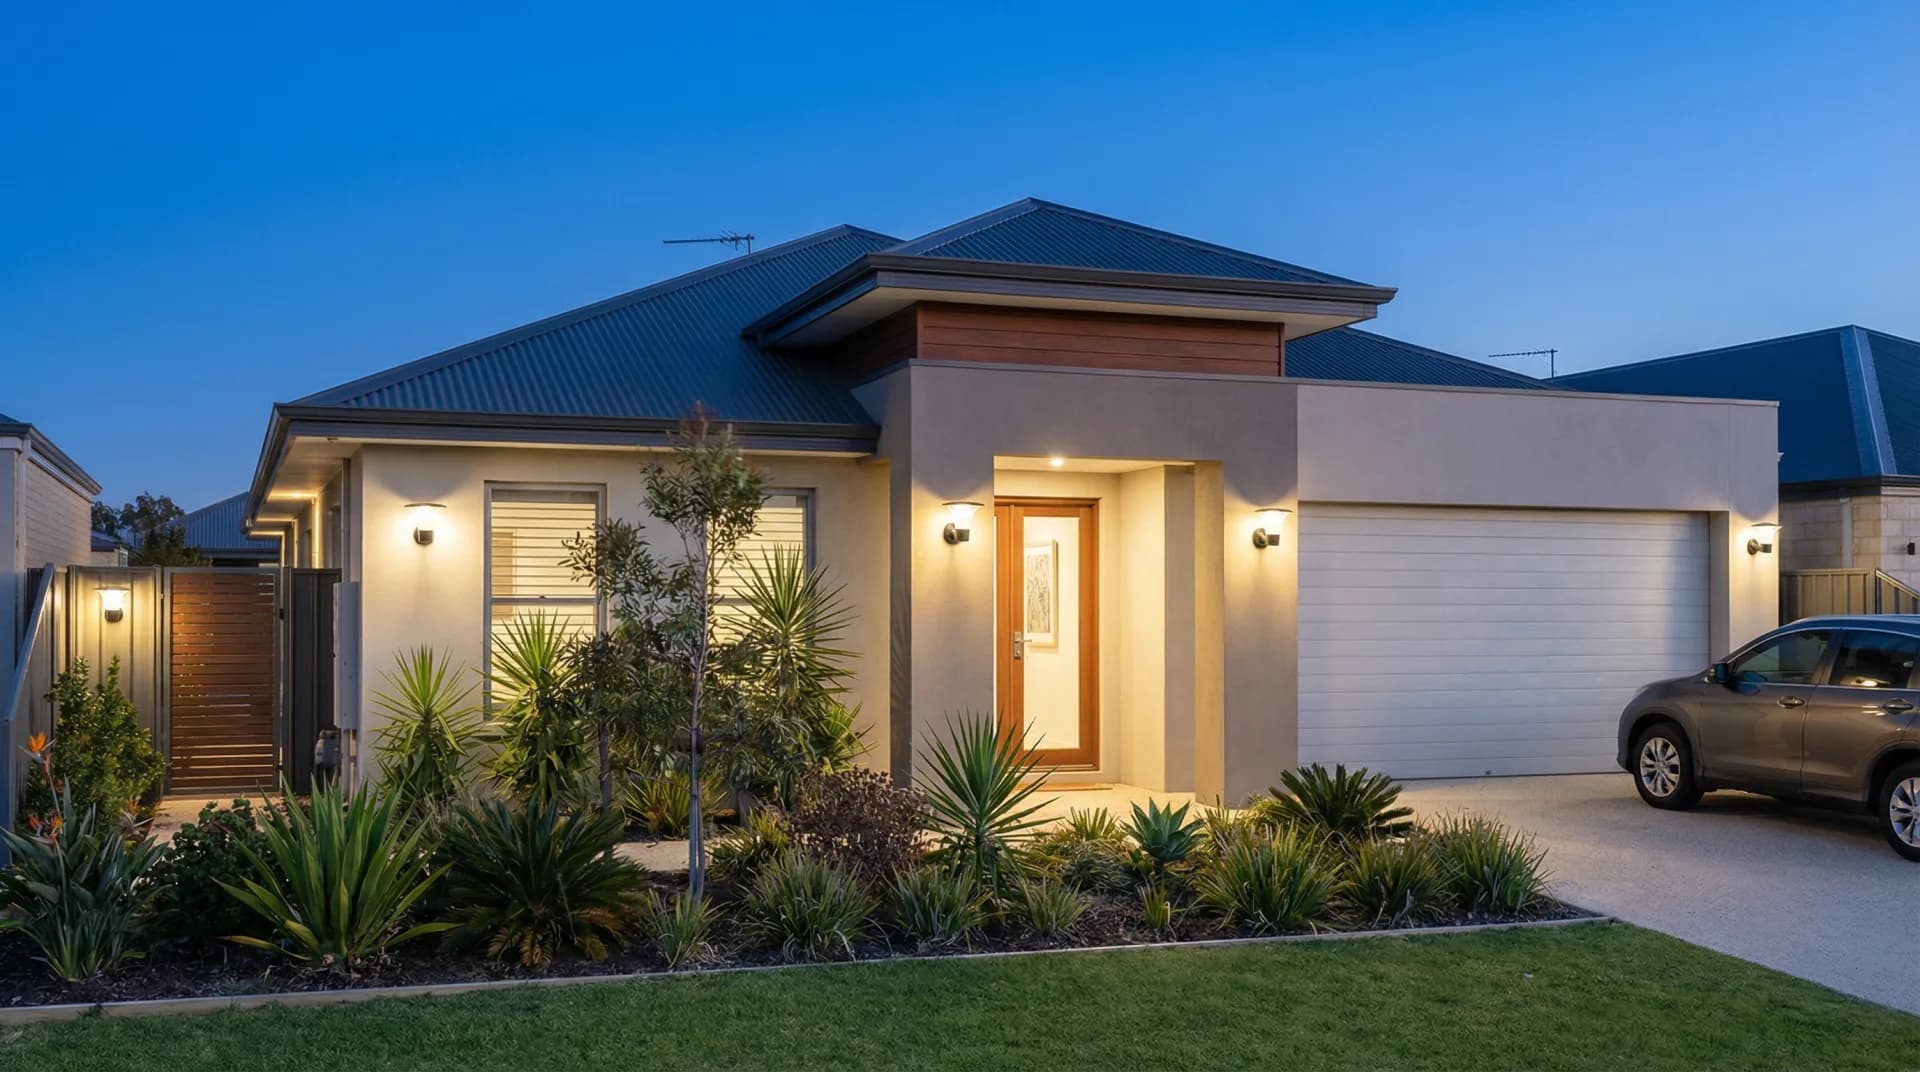
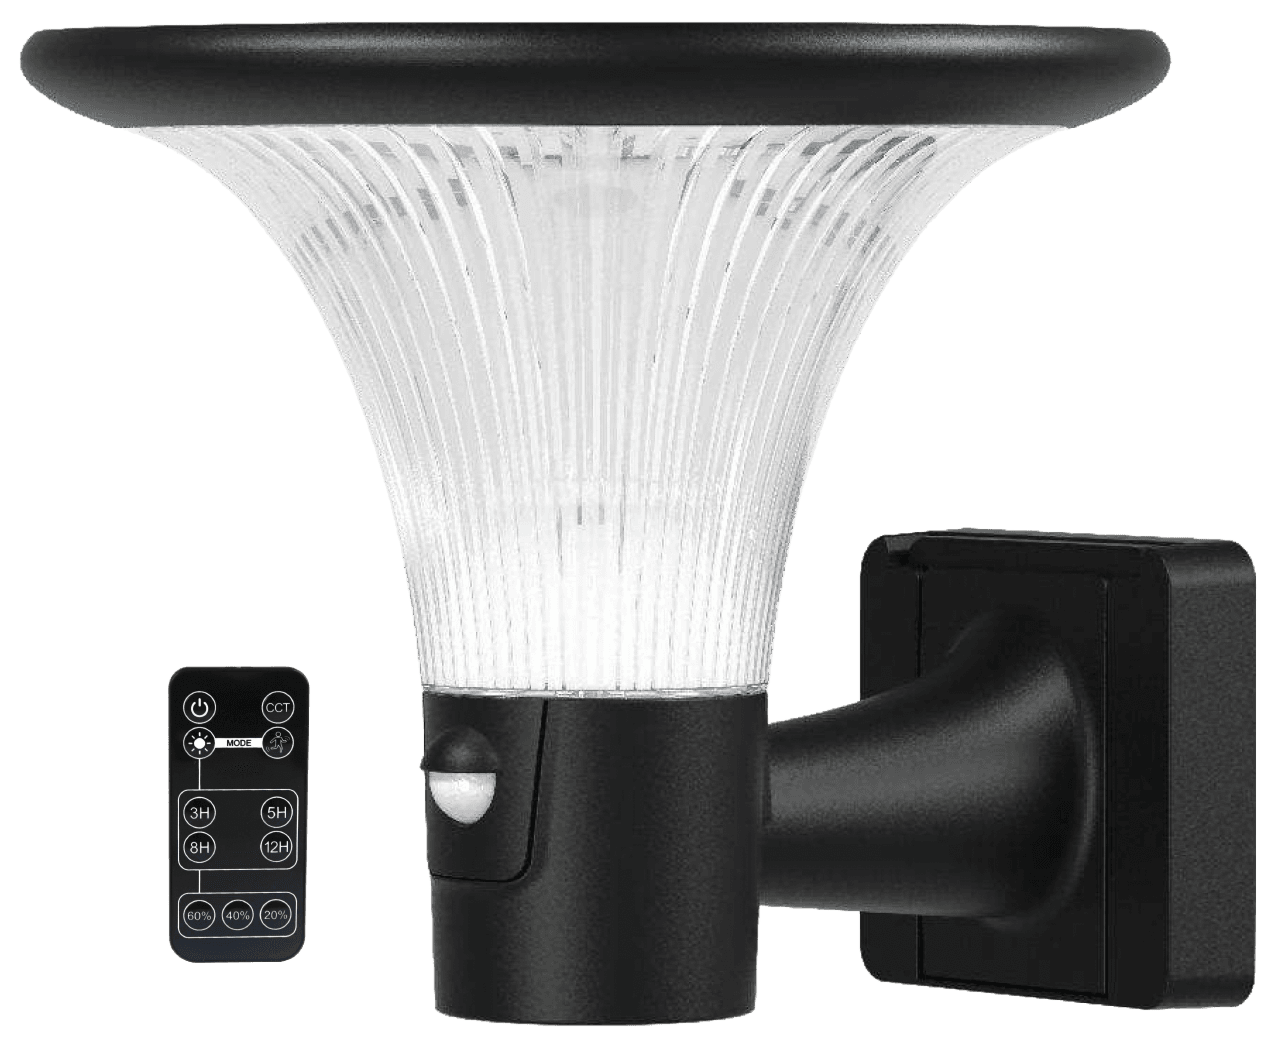
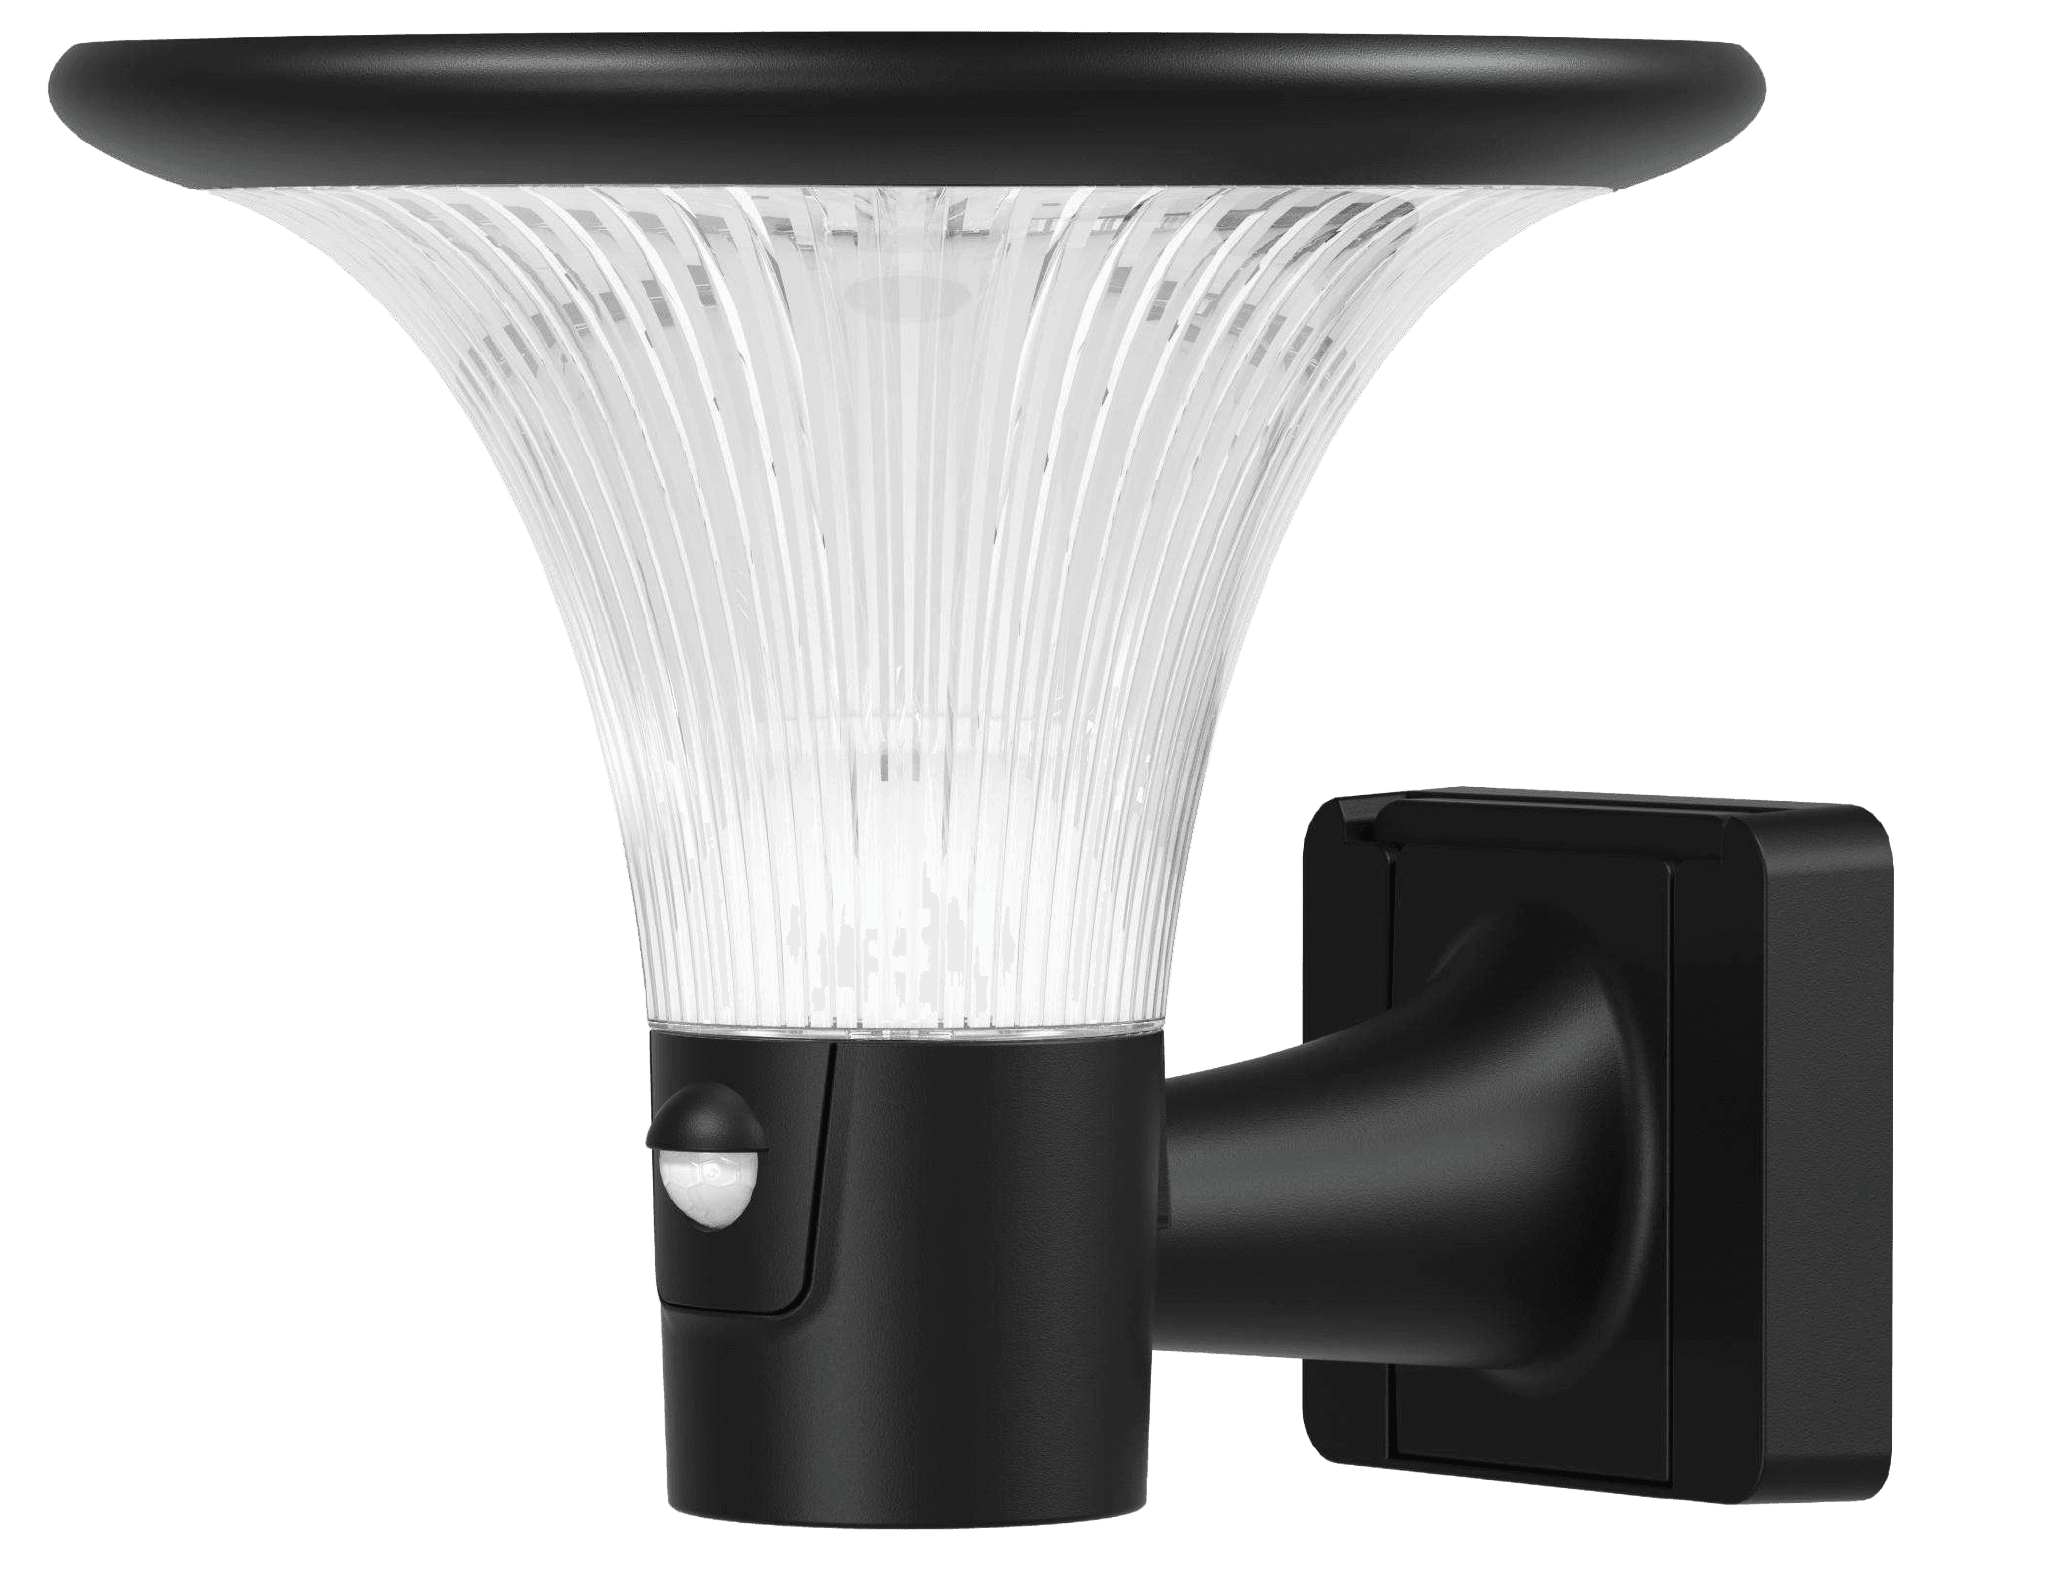
Motion-activated solar wall light installed with basic tools
Step-by-Step Installation Guide
Choose Your Location
Identify entry points, dark corners, driveways, and pathways. Prioritise areas with clear solar exposure during the day.
Check Solar Exposure
Ensure the solar panel will receive 4-6 hours of direct sunlight. Avoid spots shaded by trees, eaves, or neighbouring structures.
Mark Mounting Points
Hold the bracket in place and mark screw holes with a pencil. Use a level to ensure the light sits straight.
Drill and Mount
Drill pilot holes, insert wall plugs if needed, and secure the mounting bracket with included screws.
Attach the Light
Slide or clip the light unit onto the bracket. Adjust the angle for optimal coverage.
Configure Settings
Set motion sensitivity, lighting duration, and colour temperature using the remote control or switches.
Where to Install: Priority Guide
| Area | Priority | Recommendation |
|---|---|---|
| Front Entry | High | Wall-mounted motion sensor light above or beside front door. 2-3m height for optimal detection. |
| Driveway | High | Bollard lights along driveway edge or wall light at garage. Cover approach from street. |
| Side Gates | High | Motion-activated wall light covering side access. Often the entry point for burglars. |
| Backyard | Medium | Area light or bollards along paths. Cover sliding doors and back fence. |
| Garden Paths | Medium | Bollard lights at 3-5m intervals for safe navigation and ambient security. |
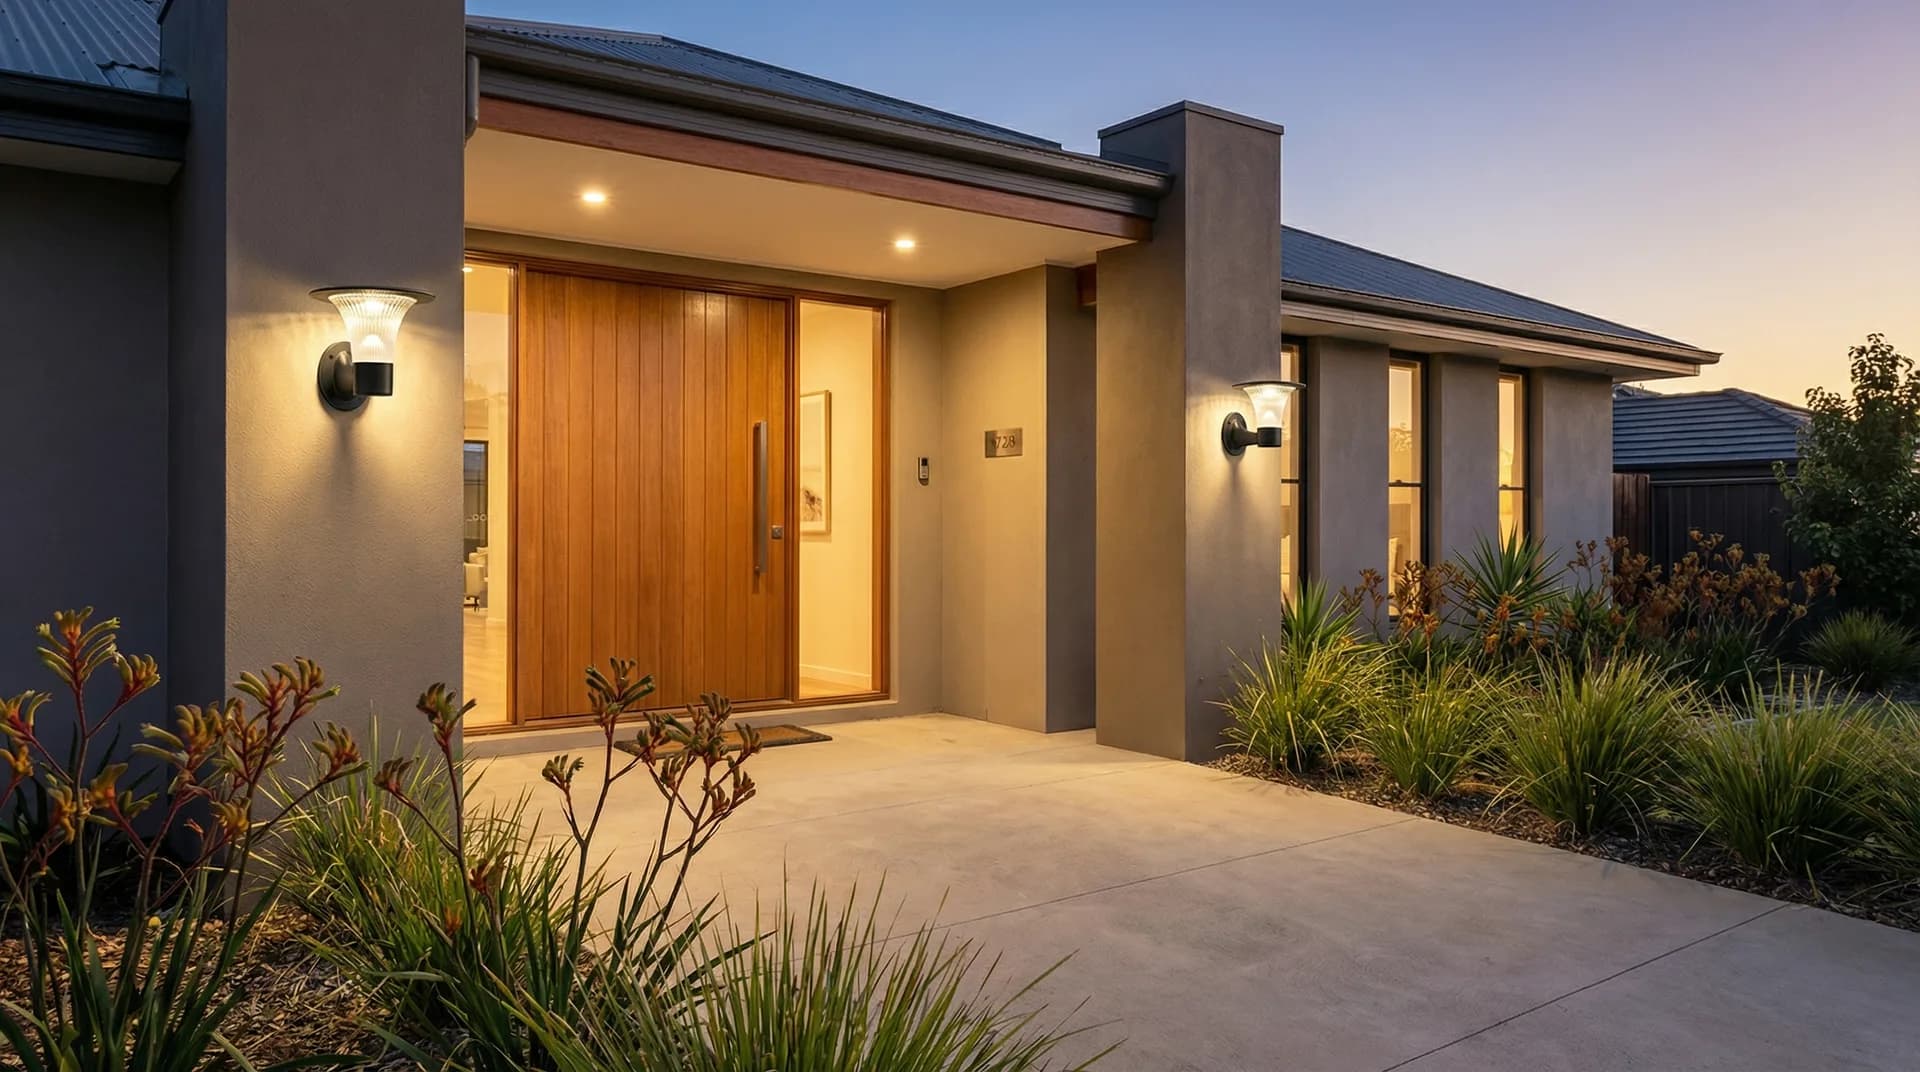
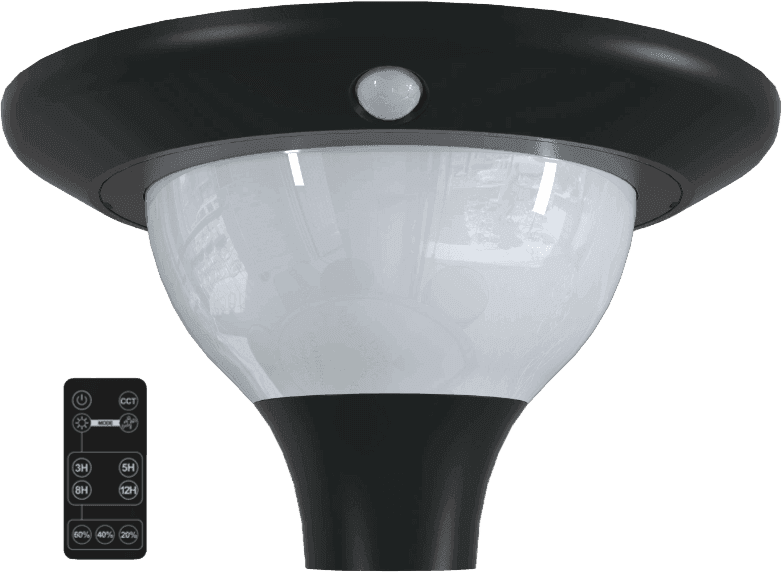
120° PIR sensor with 2-6m detection range covers entry points effectively
Recommended DIY Security Products
These products are designed for easy DIY installation with included mounting hardware and clear instructions:

Pro Tips for Maximum Security
- 1Layer your lighting — combine motion-activated lights at entry points with always-on bollards along pathways for comprehensive coverage.
- 2Set motion sensitivity appropriately — too high and pets/possums trigger it constantly; too low and it misses actual intruders.
- 3Use warm white for aesthetics — 3000K looks residential and welcoming while still providing security. Harsh 6000K can look commercial.
- 4Consider your neighbours — angle lights to avoid shining into neighbouring properties or bedrooms.
- 5Test at night — walk your property after dark to identify remaining blind spots and adjust coverage.